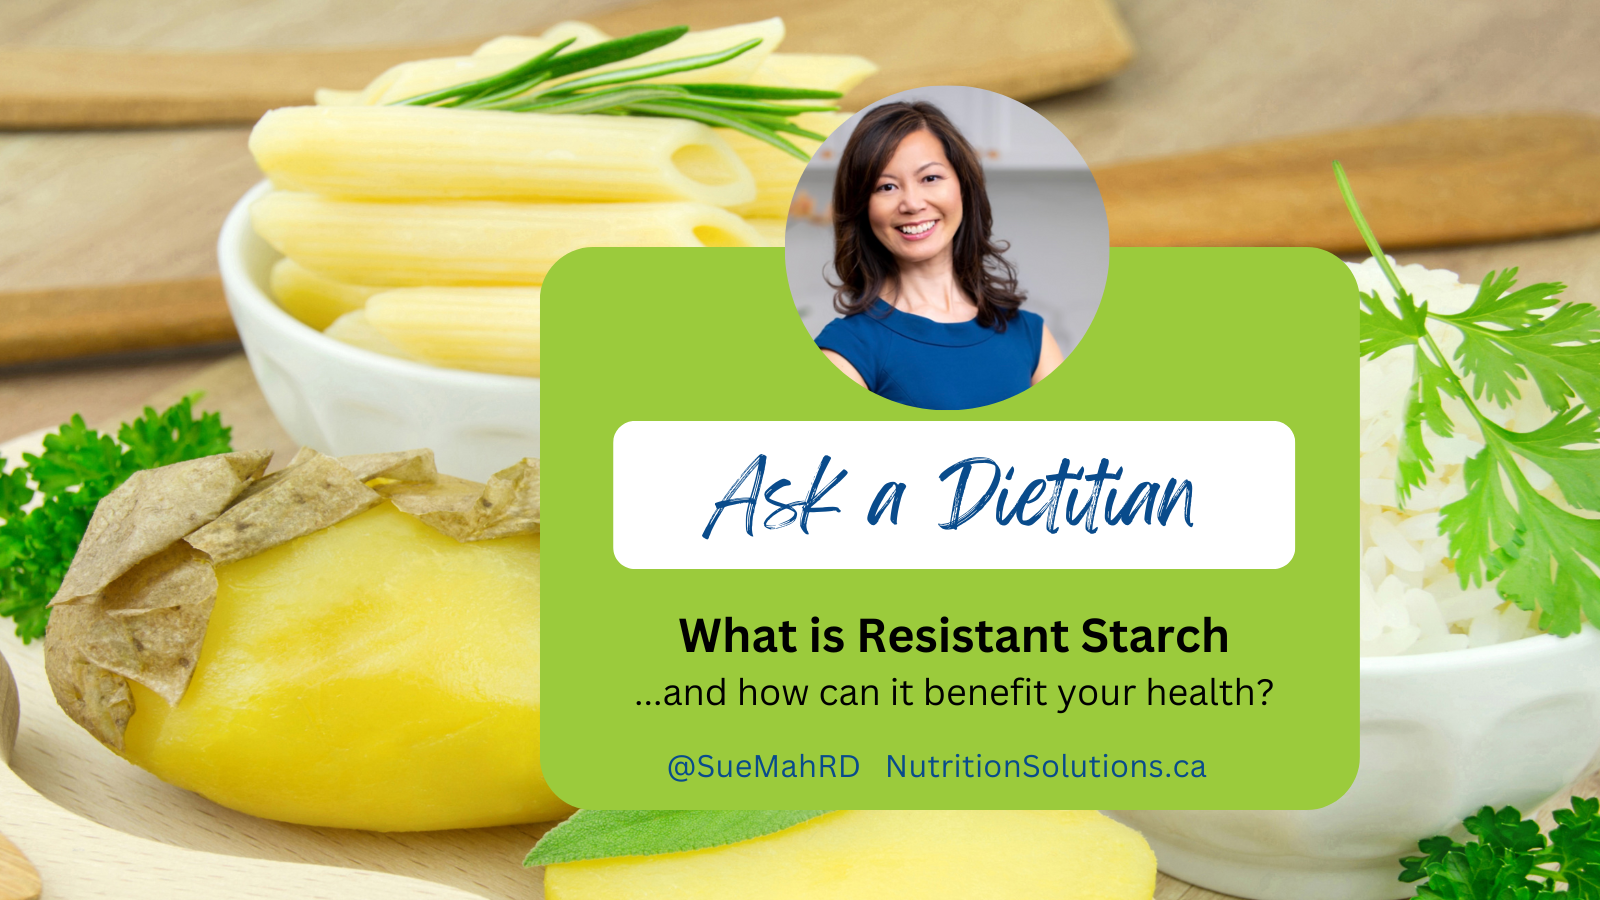
 Resistant starch is a type of fibre that resists digestion in the small intestine, and it can have health benefits.
One way to create resistant starch is to cook and then cool / refrigerate certain types of carbohydrates, such as potatoes, pasta and rice. This process (called “retrogradation”) changes the structure of some of the original starch to create a resistant starch that doesn’t get digested. The amount of resistant starch doesn’t change significantly when the food is reheated.
Here are a few health benefits of resistant starch:
- Blood sugar control: Usually, starchy carbohydrates are digested and broken down into glucose which can raise your blood sugar levels. Since resistant starch is not digested, it doesn’t have this effect, so it can be beneficial for controlling your blood sugar levels.
- Gut health: Resistant starch travels to the large intestine where it acts as food for the good bacteria in our gut. In other words, resistant starch is a prebiotic! When the resistant starch is fermented in the large intestine, it produces beneficial, short chain fatty acids.
- More gut health: Since resistant starch is fermented slowly in the large intestine, it may cause less gas and bloating than other fibre-rich foods.
- Satiety: Eating foods with resistant starch can help you feel full for longer.
Here’s what you can do:
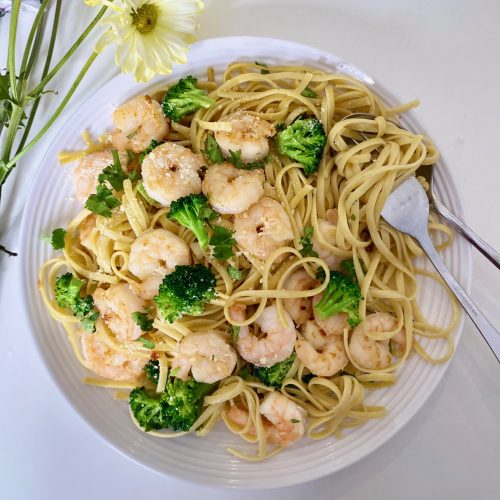
- Pasta: Cook pasta to al dente. Once cooled, store the pasta in the refrigerator. The longer it is refrigerated, the more resistant starch is formed. Eat the pasta cold in a pasta salad like my Caprese Pasta Salad, add to a soup, or reheat the pasta and enjoy it with a sauce. Bonus tip: Cook pasta to al dente – it will have a lower glycemic index than mushy pasta and create a slower rise in your blood sugar levels.
- Potatoes: Boil, roast or bake the potatoes. When cool, store the potatoes in the refrigerator for at least a few hours, preferably overnight. Eat the potatoes cold in a potato salad or reheat them in your favourite recipe.
- Rice: Cook rice as you normally would. Allow the rice to cool at room temperature and then refrigerate for at least 12 hours. Use the rice to make Best Shrimp Fried Rice or simply enjoy the reheated rice as a side dish. The amount of resistant starch does not change much after reheating cooked and cooled rice, pasta or potatoes.